







I drained and cracked open the diff assembly… sure enough – shattered ring and pinion. The KAAZ looks/seems fine… both output flanges still lock when turned. One of the carrier bearings looks like it could be replaced. The ring gear is consistently shattered all the way around.I managed to fish out a solid bit of metal chunks, slivers, and shavings from the pumpkin.
Have I ever mentioned how bad differential gear oil smells? rnSeriously. DISGUSTING.


I got underneath the car this evening, and with the help of David Jones… we got the diff assemble pulled from the rear-subframe. I can’t find my drain pan anywhere to relieve the pumpkin of its gear oil… so I will have to wait to crack the diff cover off and see what kind of carnage awaits inside. From the sounds of it… I don’t think it will be very pretty.
During the big standing burnout finale at the Motorsport Nationals Drift Demo, the car had a catastrophic mechanical failure. It sounded like I shattered the ring and pinion. The car wouldn’t drive under its own power, and had to be pushed off track. I finally got the car off the trailer yesterday, and pushed into the garage where I promptly put it on jackstands. The driveshaft spins when the car is in gear… so it isn’t the transmission. I have to get the diff cover off to be 100% sure… but it does look like it is the ring and pinion.I just pray it isn’t the KAAZ!
[fingers crossed]
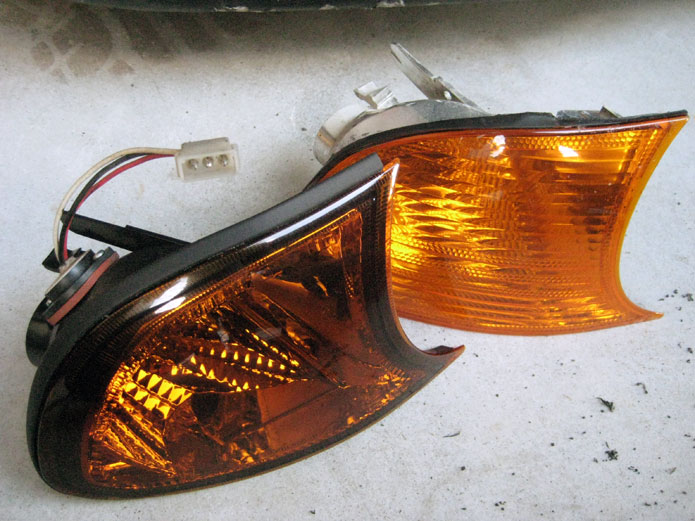
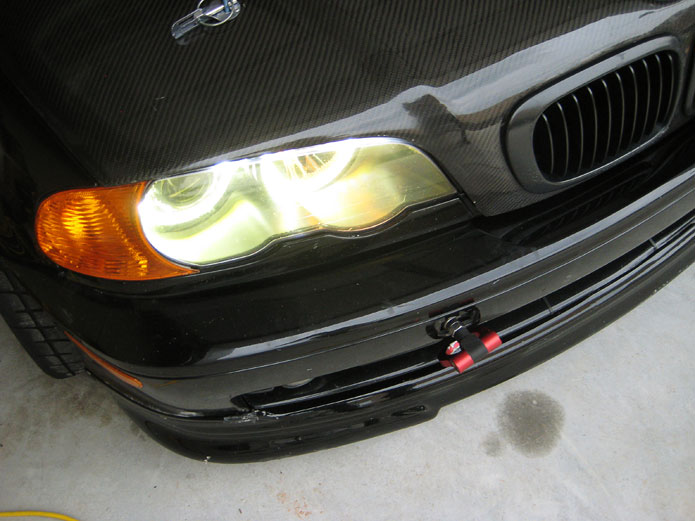
I picked up some $20 smoked corners off eBay to get a matching set back on the car after my collision with Austin. Pictured here with the OEM corner… these aren’t too much darker – but just about right. I got the strobe lights installed easy… and they look pretty sick on the car!
Still on the hunt to resolve my hydro e-brake/ABS/limp-mode issue in the e46… I took some advice given to me on ZipTied… and found a local shop that had an Autologic. I was told that using Autologic, you can hand program the ABS out of the DME without tripping faults. A quick Google search led me to Munich Motorsport.
They had to download the software from my car, and send it to Autologic UK to have the programming done. Unfortunately for myself… keying out the ABS cannot actually be done without tripping faults and throwing the car into limp-mode. Why is this so damn hard to do? I need a functioning hydraulic e-brake… without freaking out my computer OR aggravating the ABS pumps. UGH.The good news (and the real reason for this post) is… the crew over at Munich Motorsport are SUPER nice, and extremely accommodating. I really have to recommend them to anyone with a BMW or Volvo that needs work done. They really went out of their way to help me… and even though we weren’t successful – Matt had some suggestions on how to disable the ABS without freaking the car into another seizure.
This kit was super-easy to install, thanks to a detailed walk-through from FastM.com. I should have put these on the car years ago.Pull the sidemarkers and trim from the headlights out. Then remove the clear lenses.
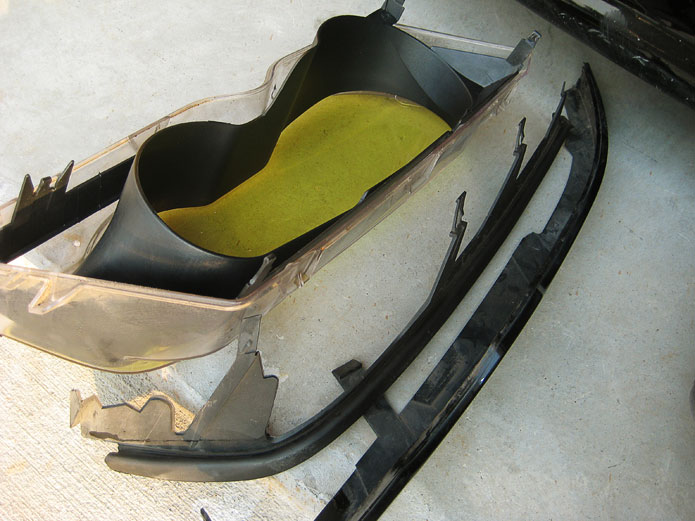
You’re left with a wide-eyed looking headlight.
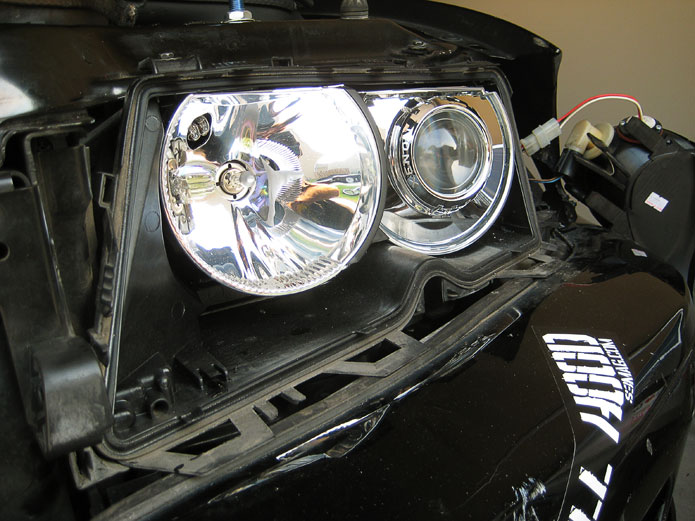
Clip the angel eyes to the headlight.
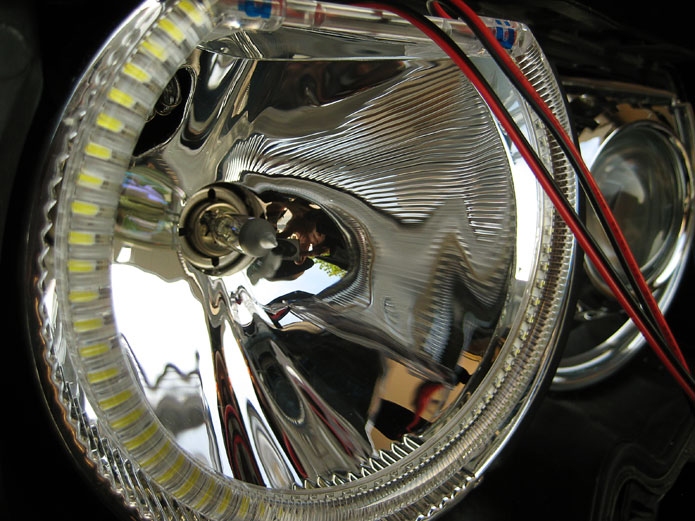
Make sure it is hella flush approved.
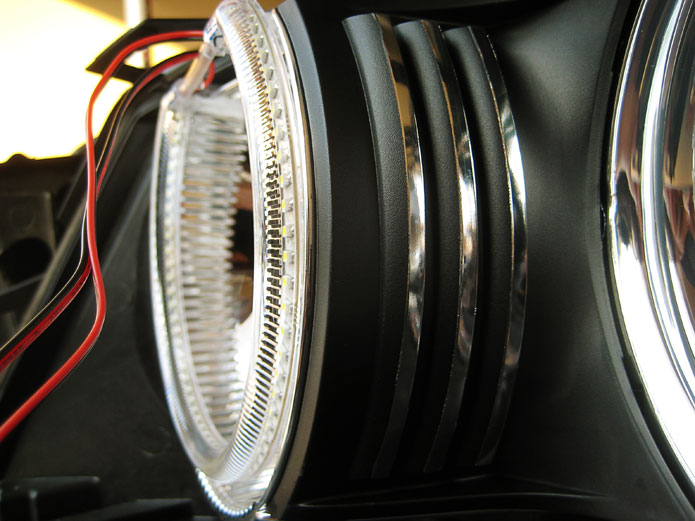
(Not pictured) pull the wiring through the rubber boot in the back of the headlight housing and wire up accordingly.
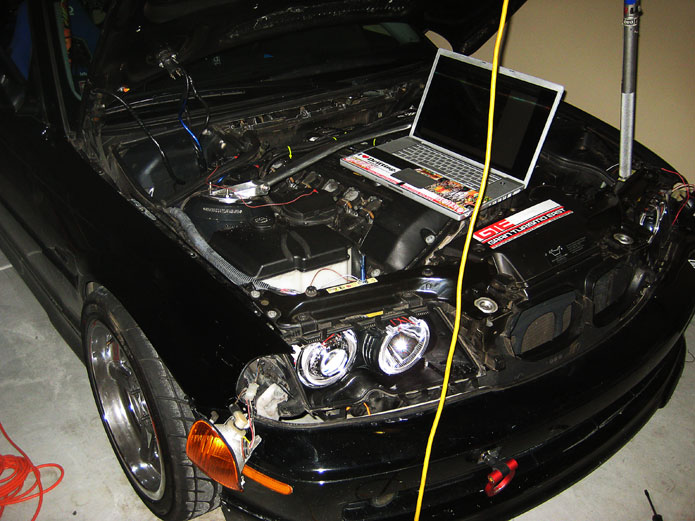
Searchlights aren’t this bright.
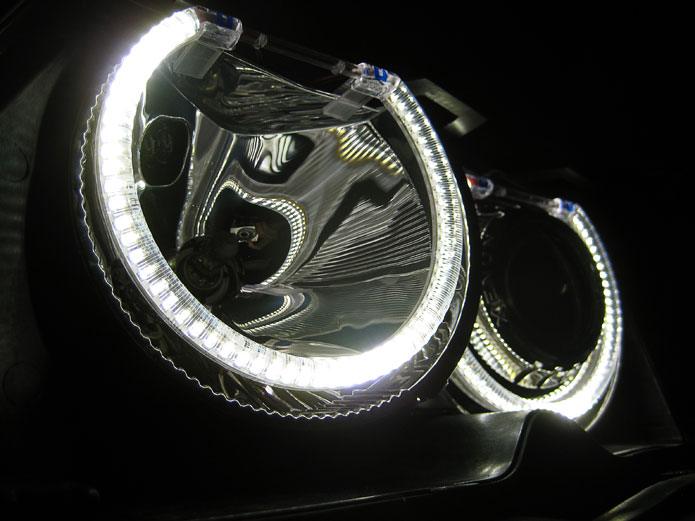
Both sides wired up.
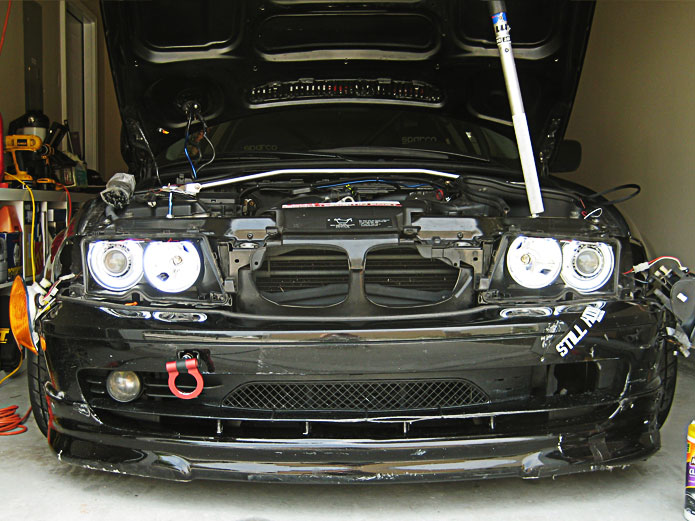
All the lenses and trim buttoned back up and ready to go. My driver-side headlight was shattered where Austin and I collided… so this was a good time to epoxy it back together.
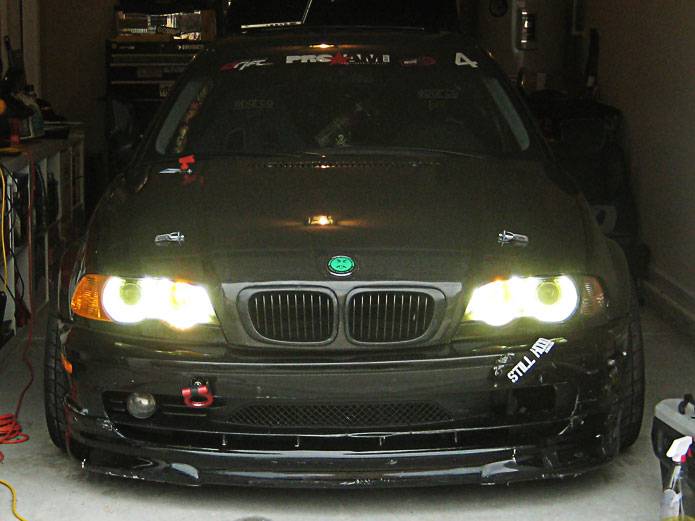
My point-and-shoot does these things ZERO justice. They look awesome, and they are SUPER bright.
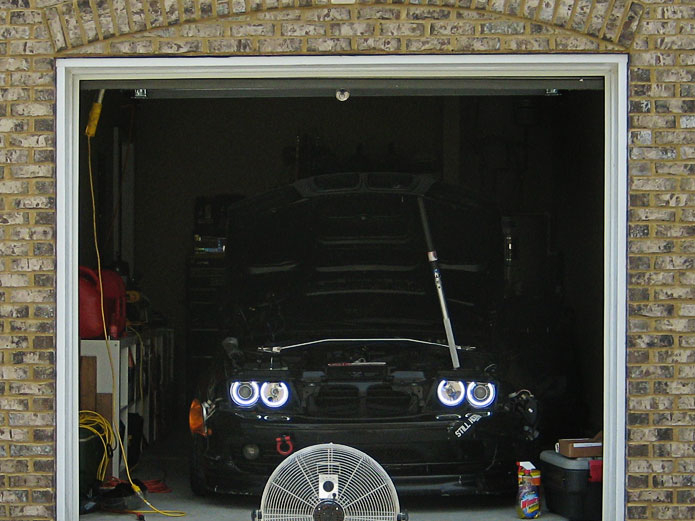
A box arrived today from Umnitza. I can’t wait to get these on the car.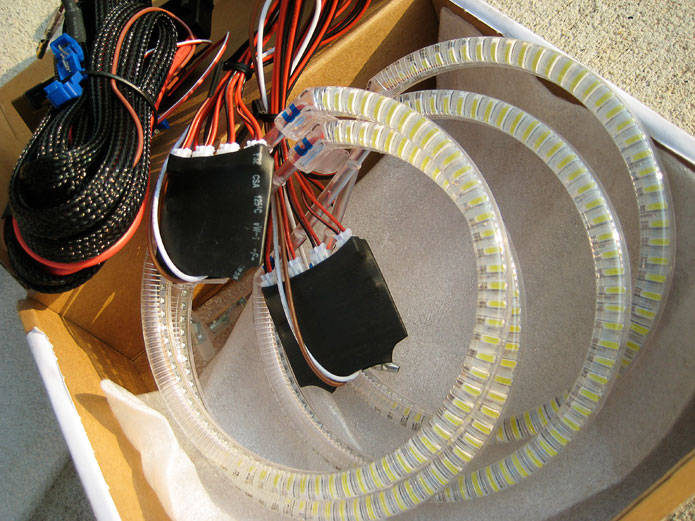
Took the car up to Foerst Motorwerks today… it looks like the heat-shrink fell victim to the severe heat of the TMS World Challenge headers. The wiring for the O2 sensors came in contact with itself, which explains the intermittent nature of the problem. It was SERIOUSLY a pinhole size hole in the heat-shrink.WORST. TIMING. EVER.
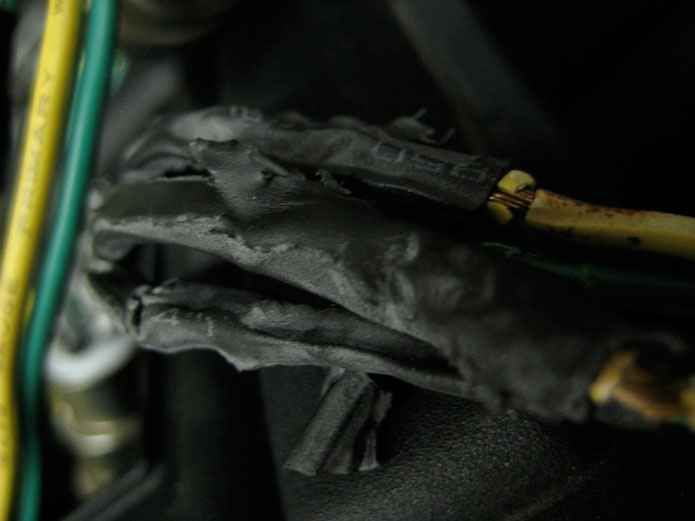
I bought some new Bosch O2 sensors, and Matt got it all wired up and back in running order. I haven’t tried to pull those ABS fuses again to allow use of my MAX hydro-brake… I will wait until after the event on Saturday to mess with it. The car seems to be running in tip-top shape… AND – the SES light is OFF?!?!
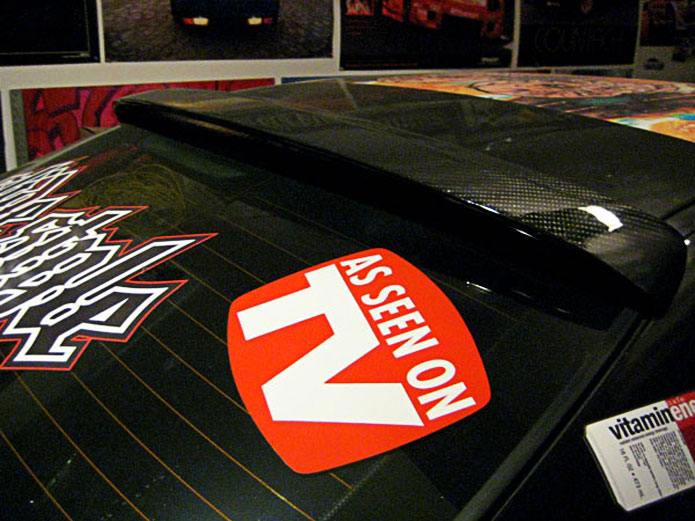
My carbon fiber roof spoiler went flying off the car in-tow to Road Atlanta. Who knows were it fell off, or if it is in one piece. That wing looked so rad. I miss it. I want to get another one… but the mounting point had such a minimal contact patch with the glass that it was hard to keep it on there well. I’m not surprised it fell off… especially since I was doing 90 to get to tech on time.
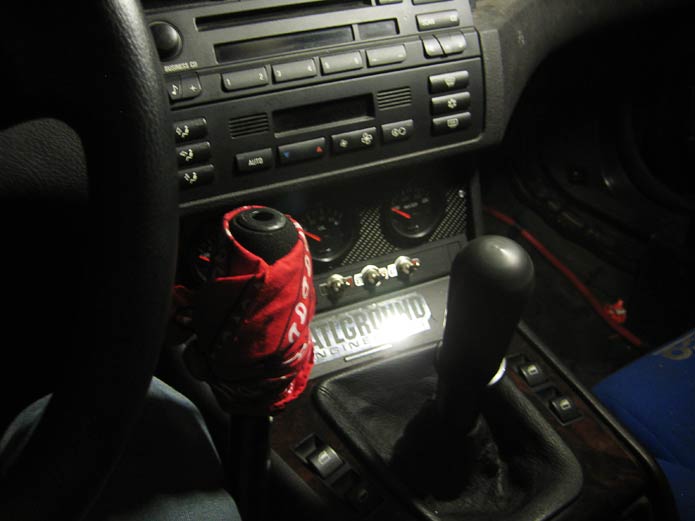
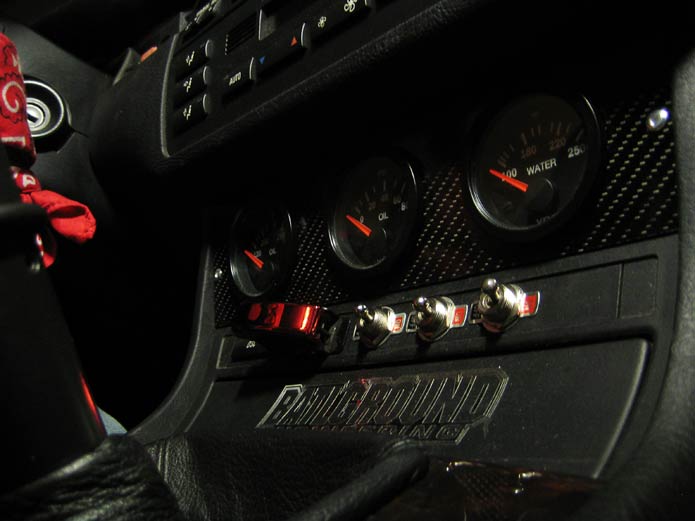
On a whim… I decided I wanted to re-wire my strobe switches, and mount my gauges in the dash. I made the old switch panel and the gauge cluster out of a sheet of carbon fiber many years back. When I bought the VDO gauges back in 2005… Summit sent me the wrong sending units, and I never got around to ordering the correct ones. The cluster has laid dormant in my garage ever since.This is basically what I started with. I pulled the center dash console, made a quick Home Depot run for some brackets and solder, and snagged some metal toggles from Auto Zone.
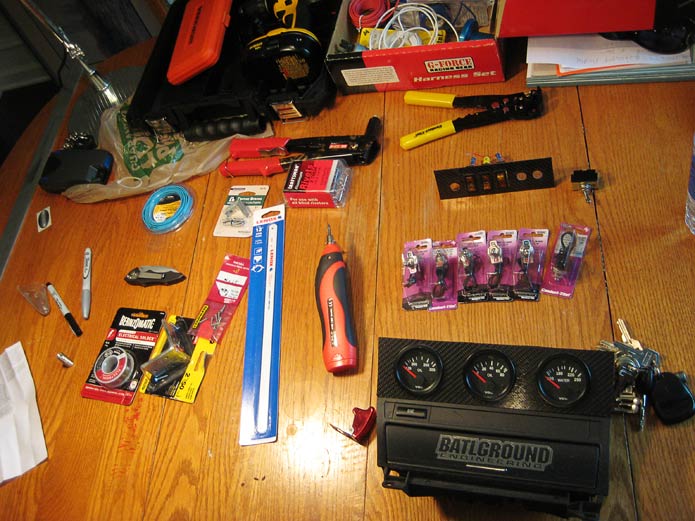
This didn’t take long. I like this setup much better than the carbon fiber plate that used to sit in the ashtray. This is much more solid.
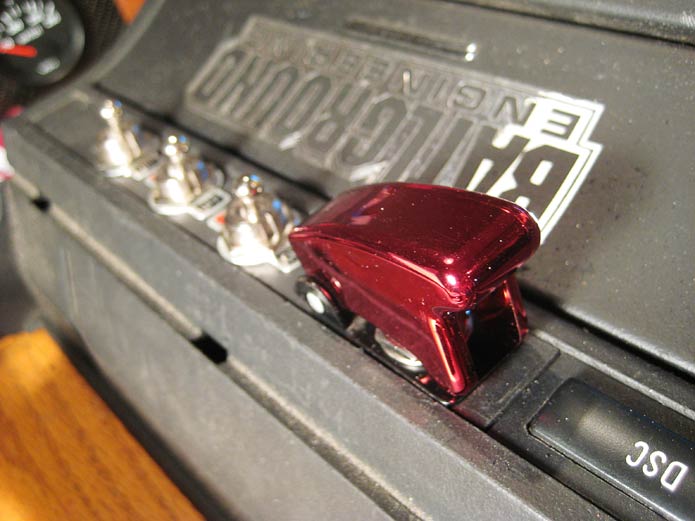
Onto the gauge cluster install… I snagged some aluminum from Home Depot, and cut it to line up with the back of the carbon fiber that holds the gauges.
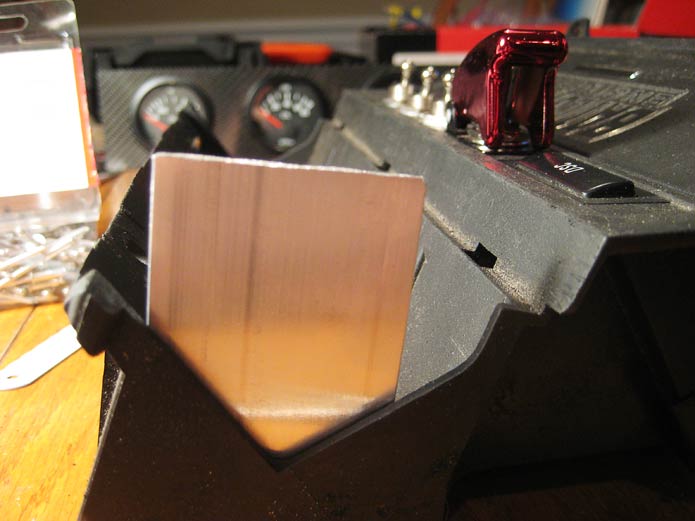
Drilled matching holes in the aluminum, and the console.
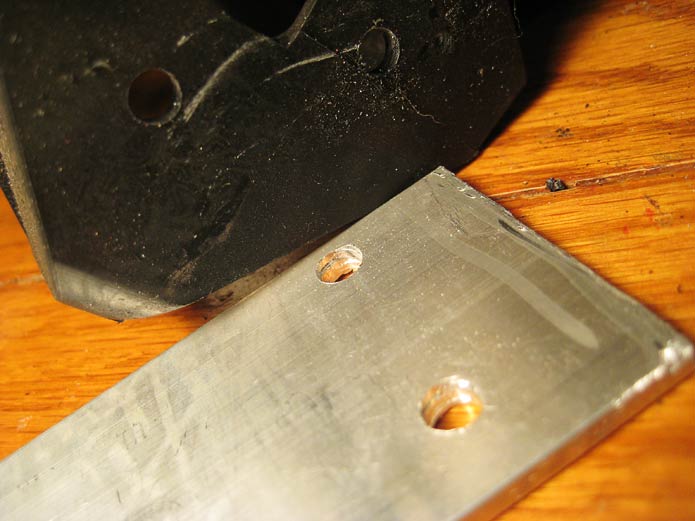
Pop-riveted them into place.
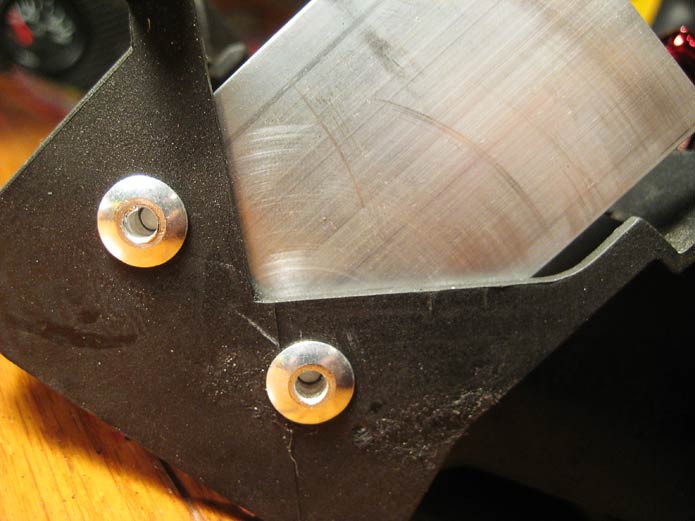
The right side had to be Dremel’d out with a cutting wheel, because it had an angled edge that the left side didn’t have.
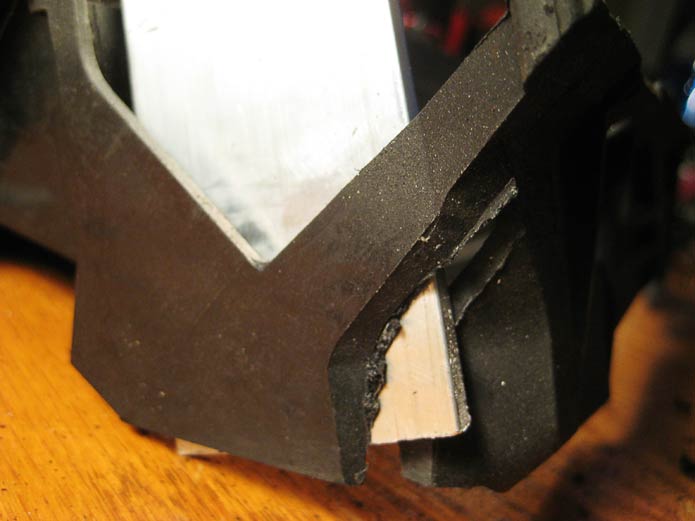
Dremel’d two of the tabs slightly to allow for a flush fitment.
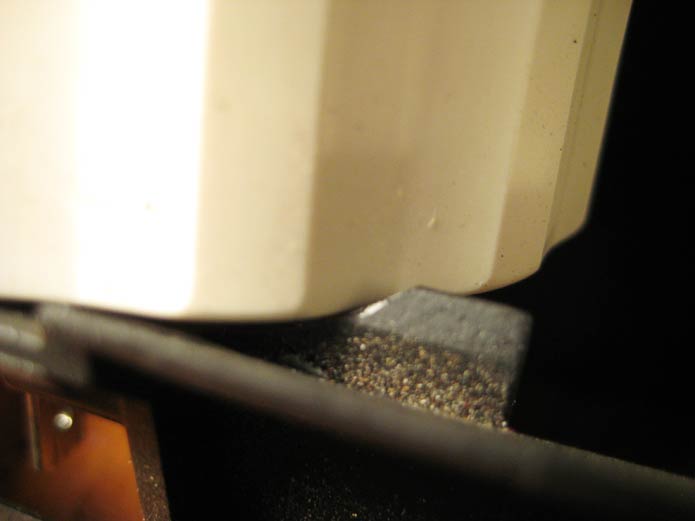
Then I cut one of the brackets to size, and bolted it to the aluminum plate.
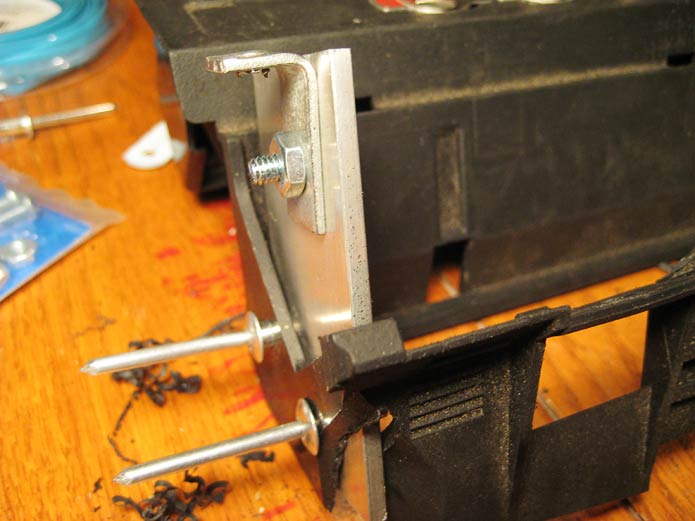
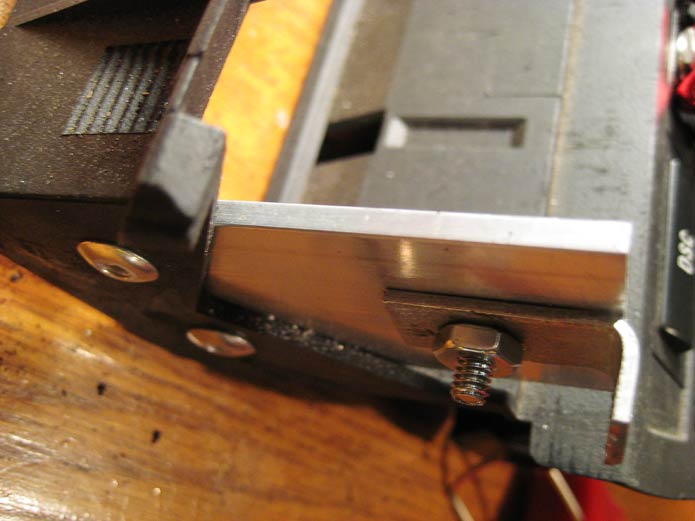
You can see where this is going.
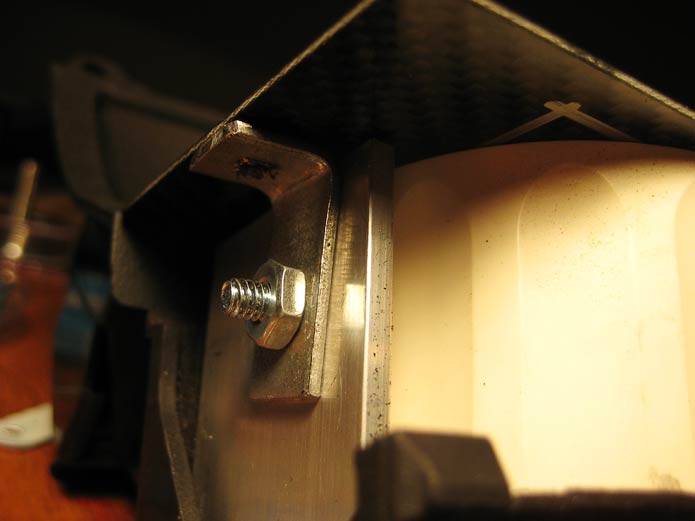
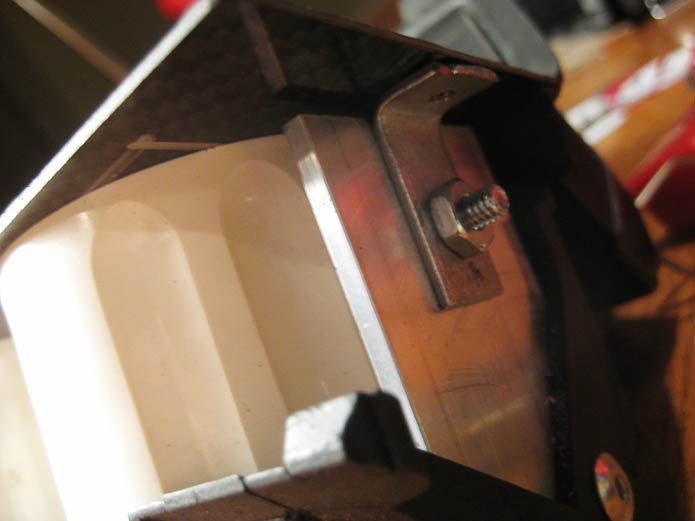
Riveted the cluster to the bracket.
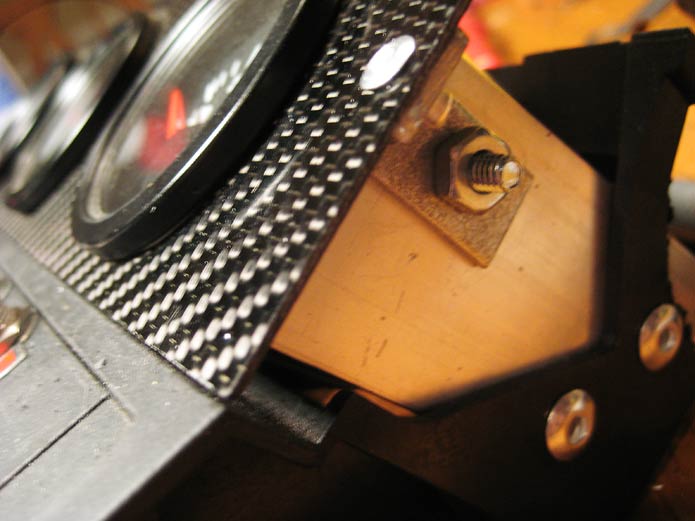
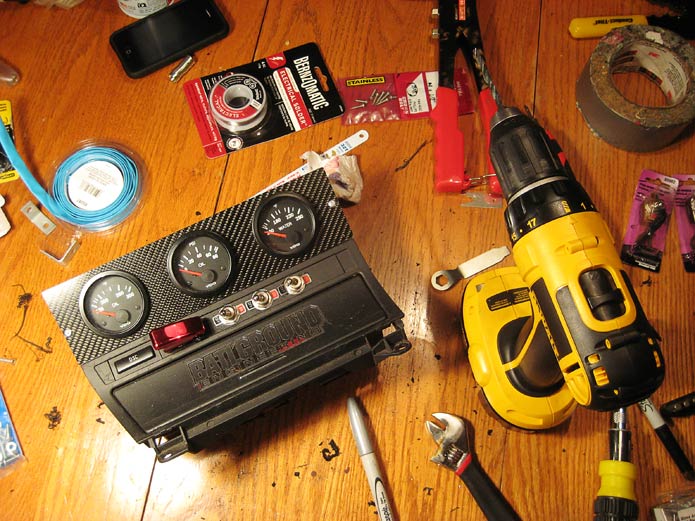
Re-wired the strobe switches to the control module, and installed the entire center console back in the car.
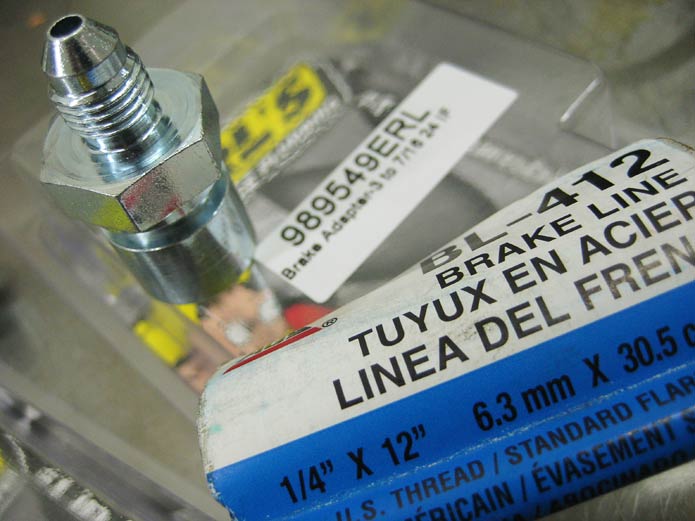
The result of an early morning run to Summit Racing. The stainless lines and fitting that came with the MAX e-brake were metric. The only additional brake line we could find on a Saturday evening was 1/4″ standard line. This line was the closest to the OEM line we would be splicing. The Earl’s fitting would allow us to utilize the standard fitting on the 1/4″ line, and adapt it to the metric lines that came with the e-brake.
This is the OEM line that runs from the brake master to the ABS module. After the ABS module, it splits left and right to the rear, so we deduced that our best bet would be to run the e-brake inline here.
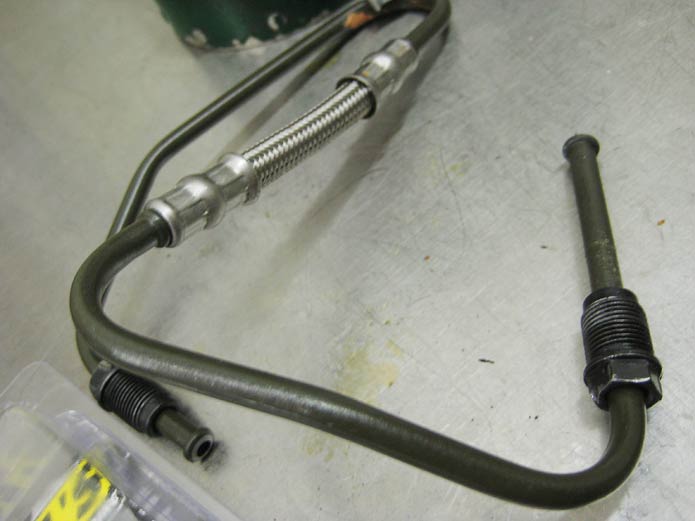
Stainless lines run in-line between the brake master and the e-brake.
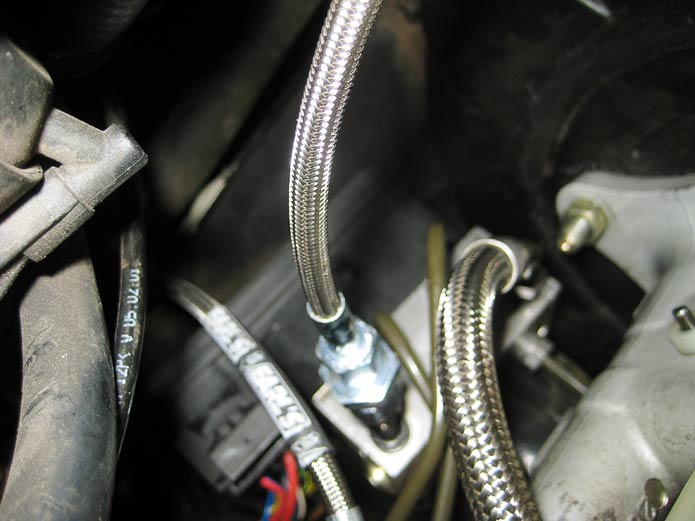
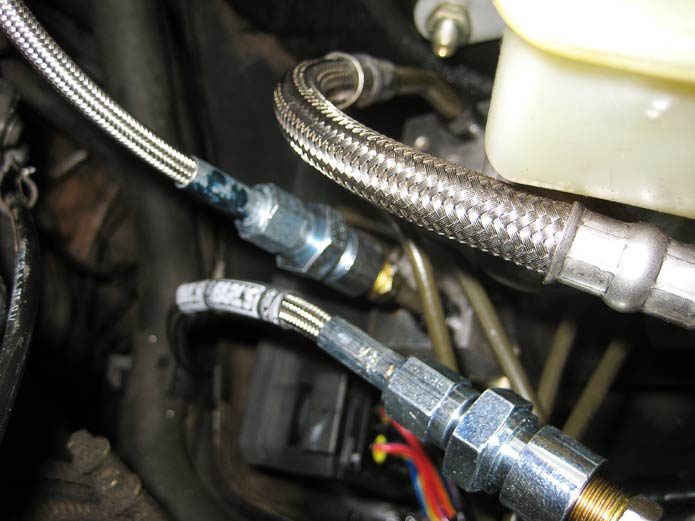
The stainless lines then got run under the dash and along the transmission tunnel to the mounting point of the e-brake.
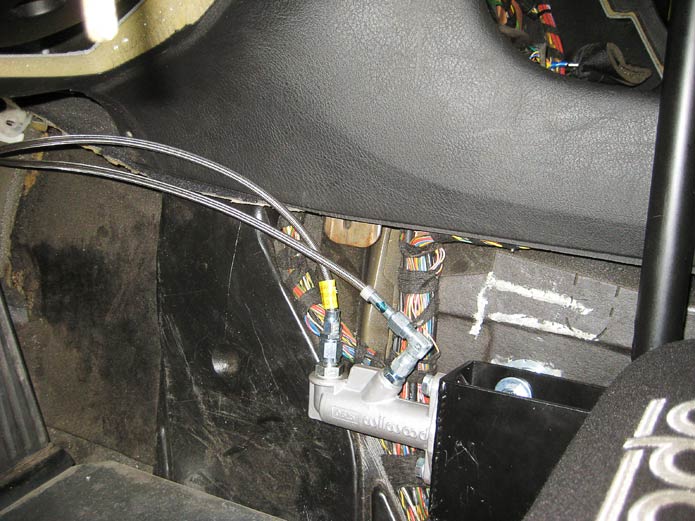
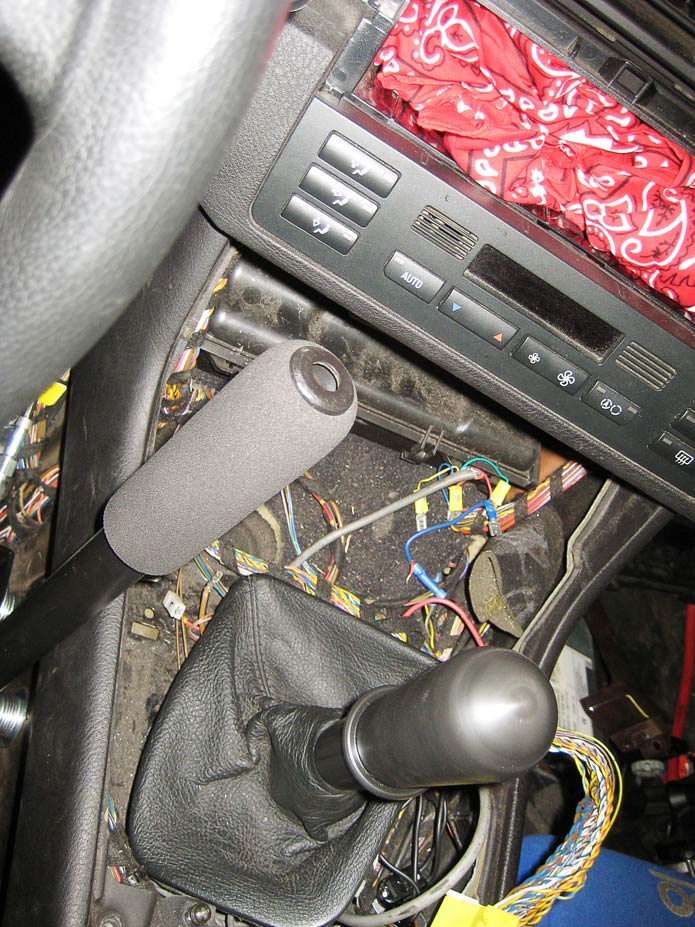
This is basically where the e-brake would end up. I’m trying to keep my hand movement to a minimum between the steering wheel, shifter, and e-brake.
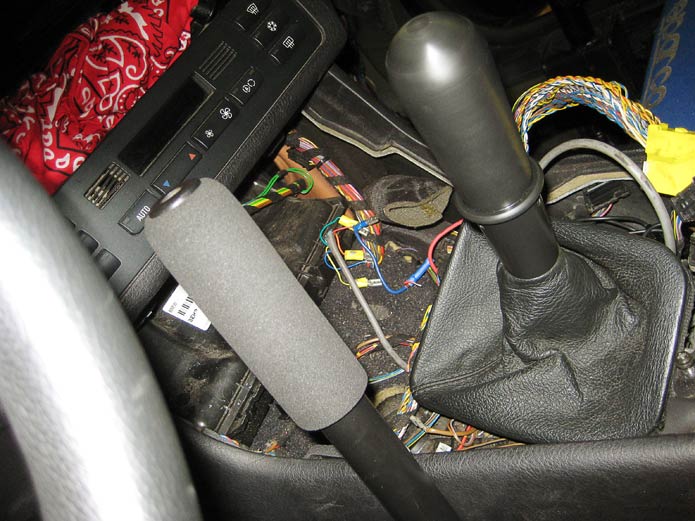
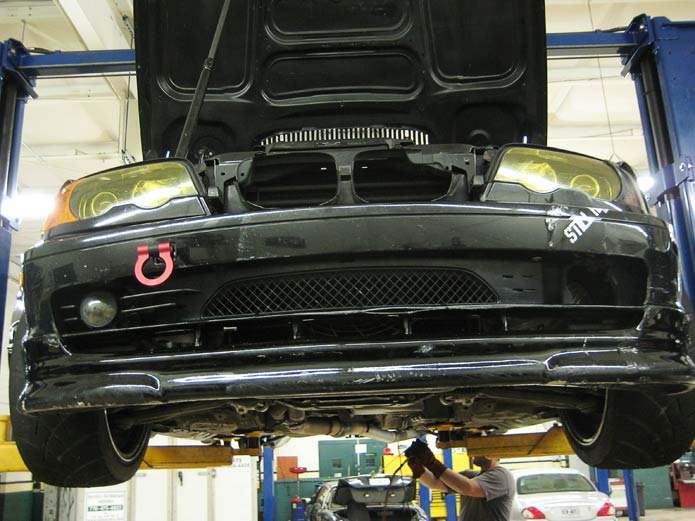
Bumper back on, while Matt hangs the exhaust proper.
Final touches on the exhaust hangers.
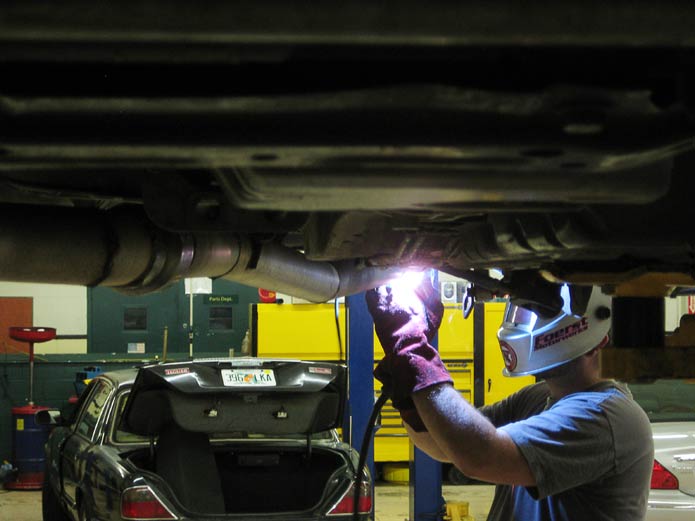
Foerst Motorworks has hella Jag clientele.
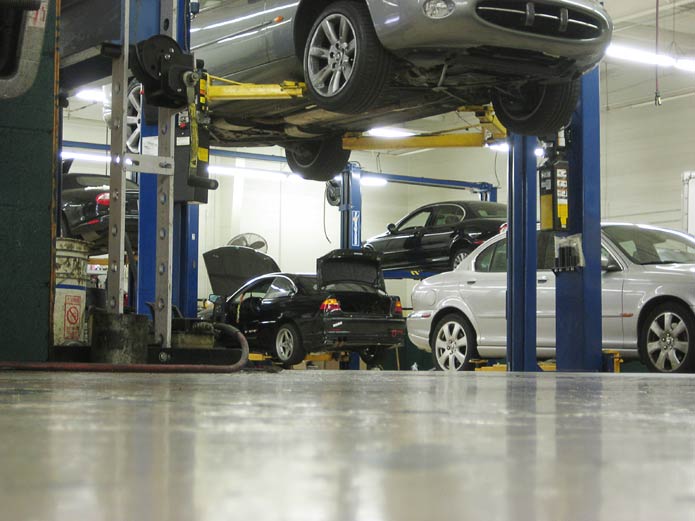
Off the lift and ready to KILL. All she needs is an alignment and a wash.
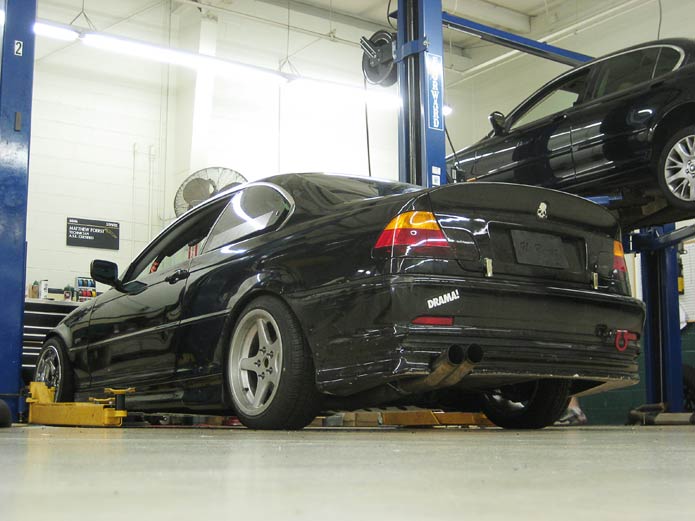
We had to bleed the brakes like 5-6 times. Both manually and with a power bleeder. I thought the guys from Parts Shop Max were joking when they said you had to bleed it a lot. I gave the e-brake a couple solid pulls in the parking lot. It was raining, but it locks up like a champ!
MAJOR progress today. I don’t think this car knew what hit it.The calm before the storm…
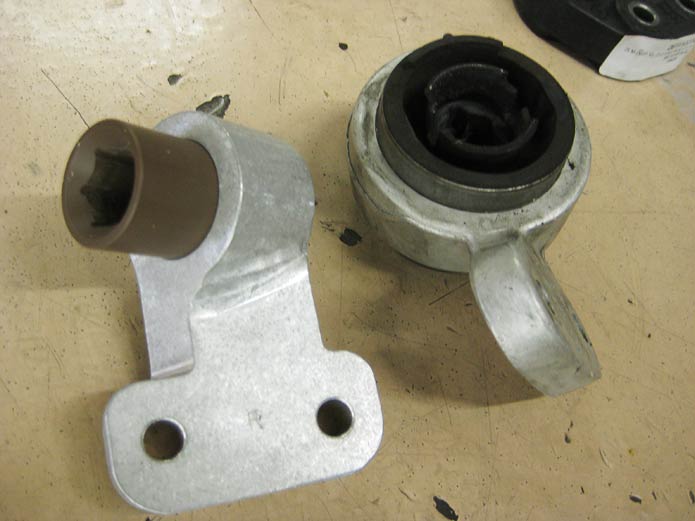
Treehouse bushings versus the stock 60mm.
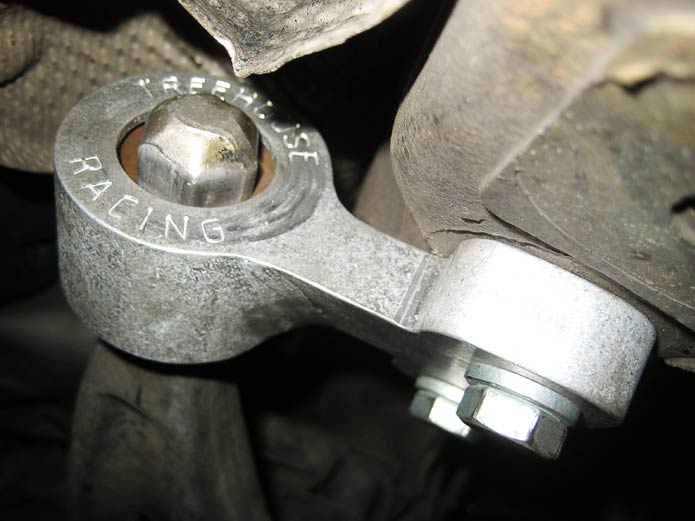
Treehouse bushing installed.
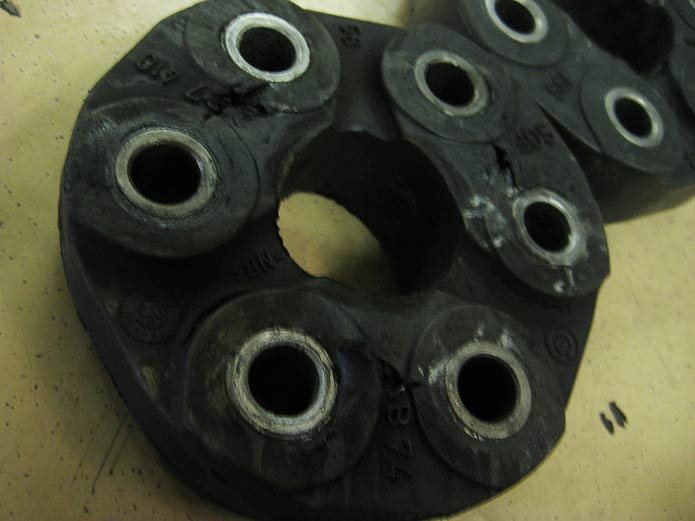
Old guibo. You can see where it tears under stress. This one is pretty tame compared to some of the others we’ve pulled out of this car.
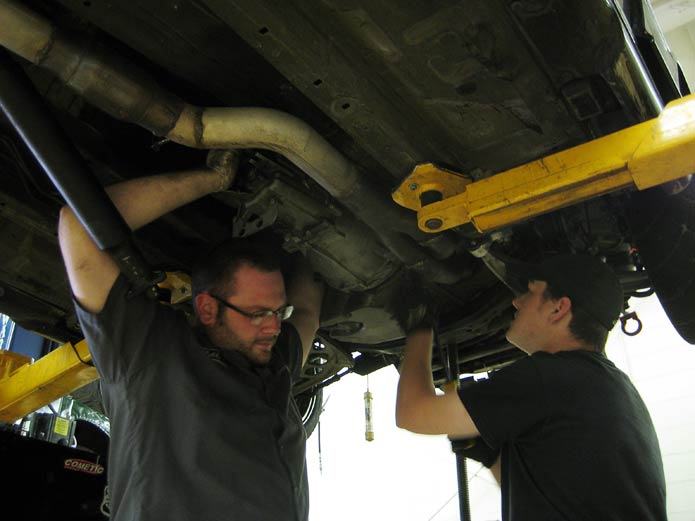
Who needs a transmission stand? Matt Foerst manhandling the transmission from the motor.
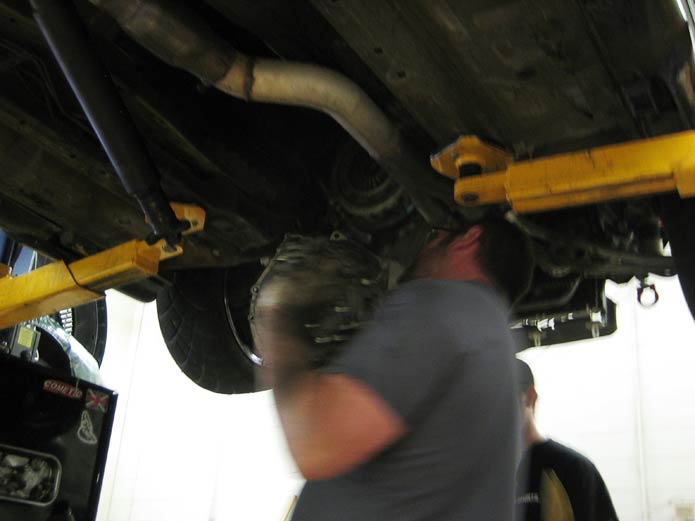
Hard to believe this is only the 2nd transmission that has been in this car.
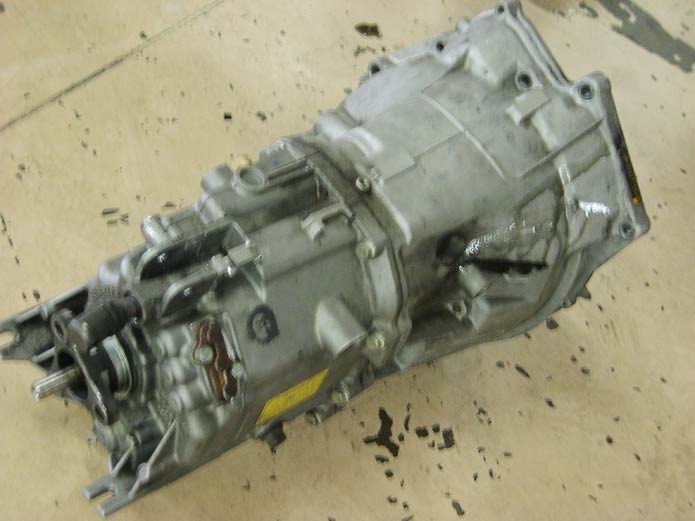
OEM e34 M5 pressure plate.
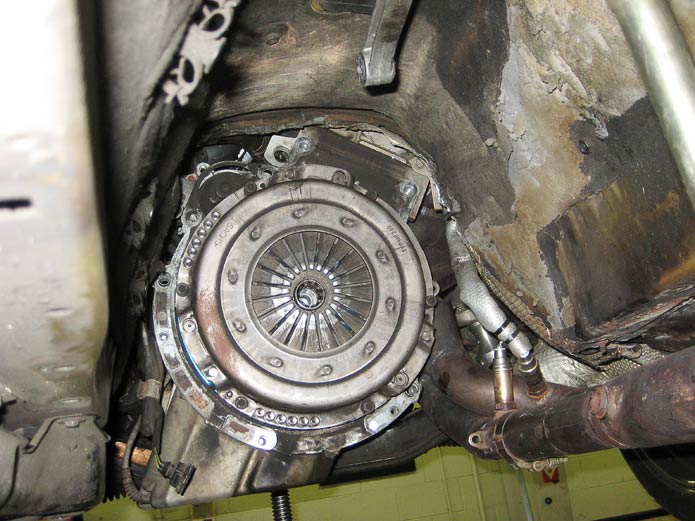
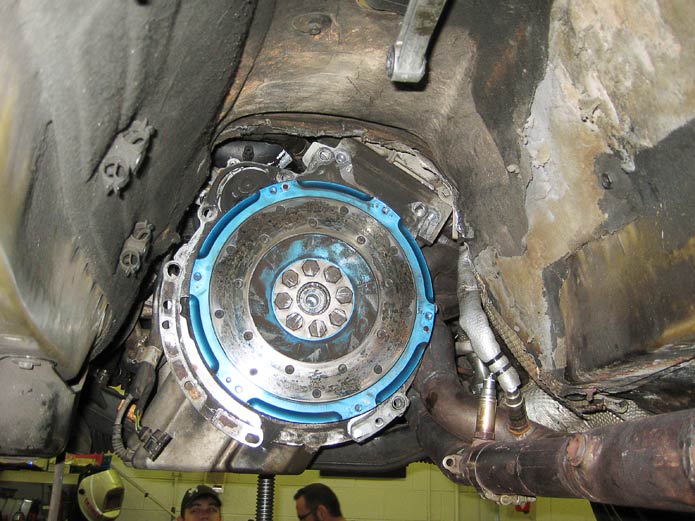
UUC Motorwerks lightweight flywheel.
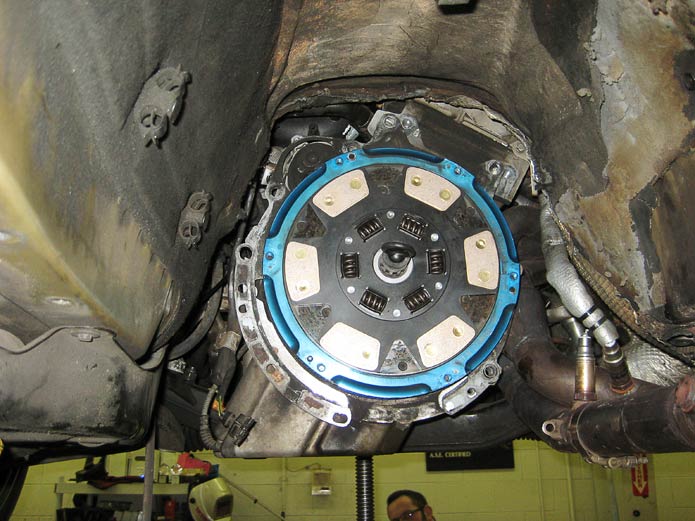
Clutch Specialties 6-puck ceramic installed.
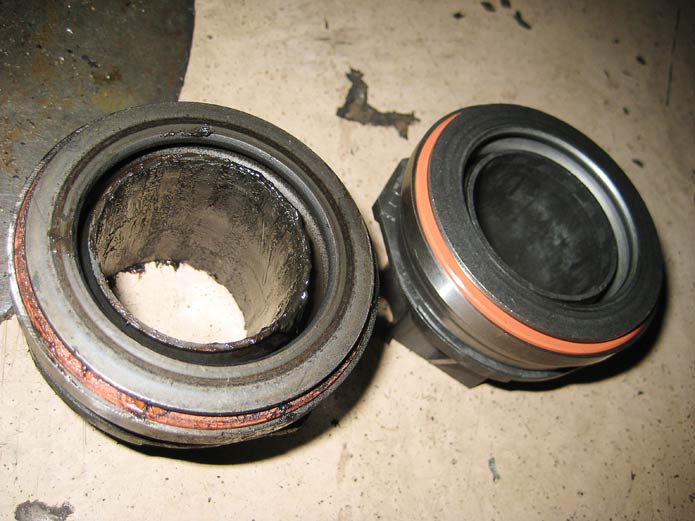
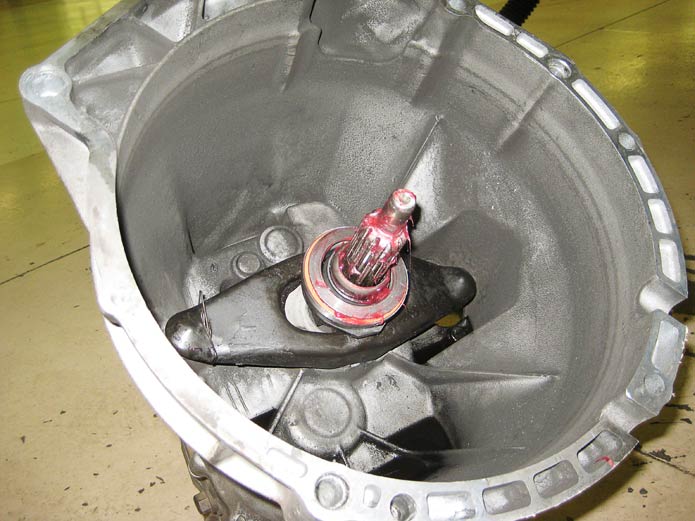
Old e35 M5 throwout bearing versus the new one. Thankfully… Global Imports BMW had one of these in stock.
Ready for re-install…
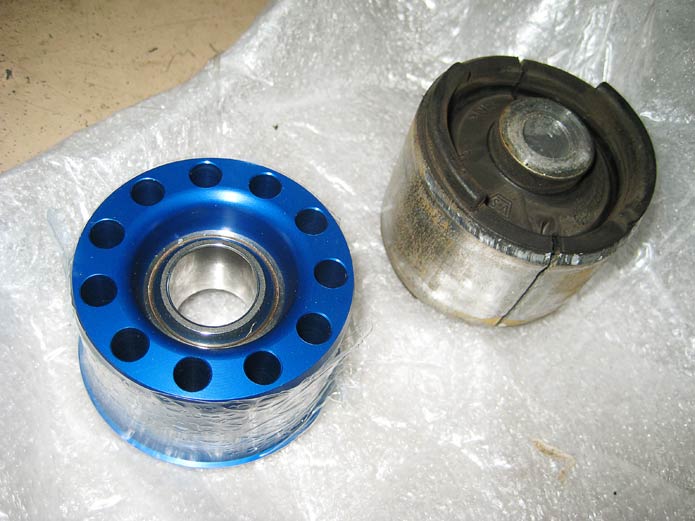
Turner RTAB versus the stock bushing.
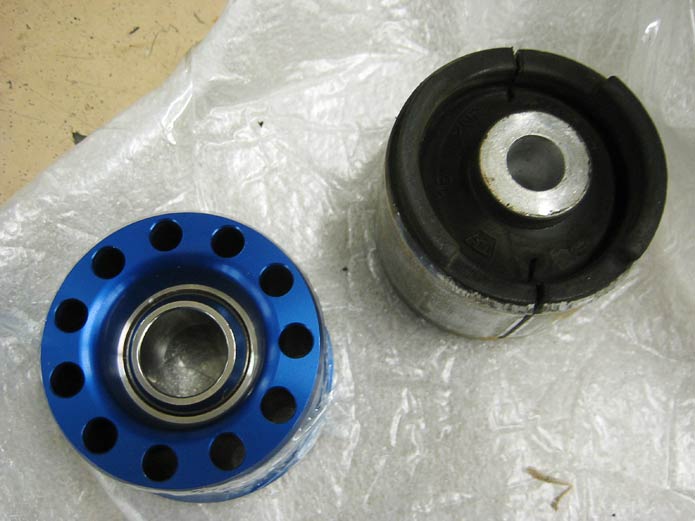
Pressed in and ready to be bolted up.
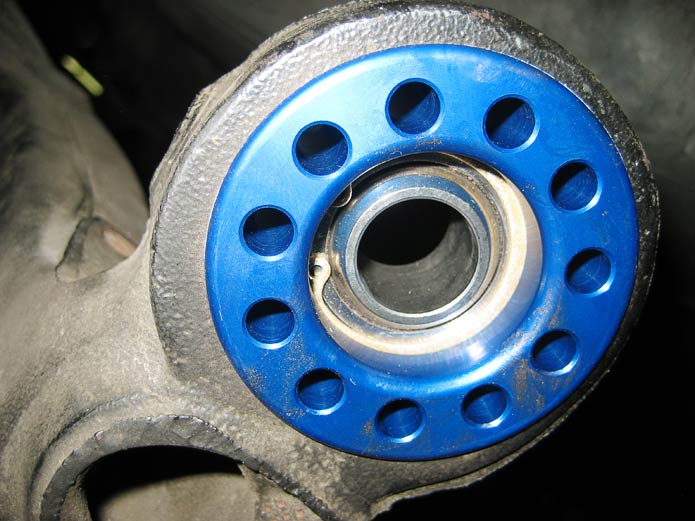
The center support bearing was destroyed. We had to make a mad-dash across town to pick up a new one from United BMW.
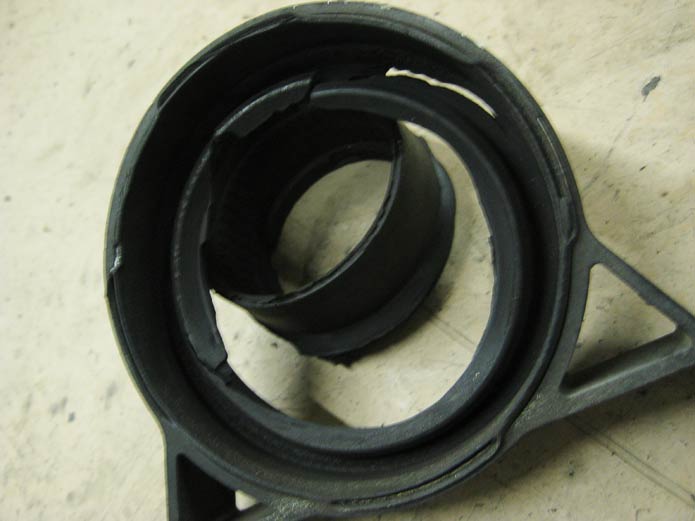
The new one… ready to rock.
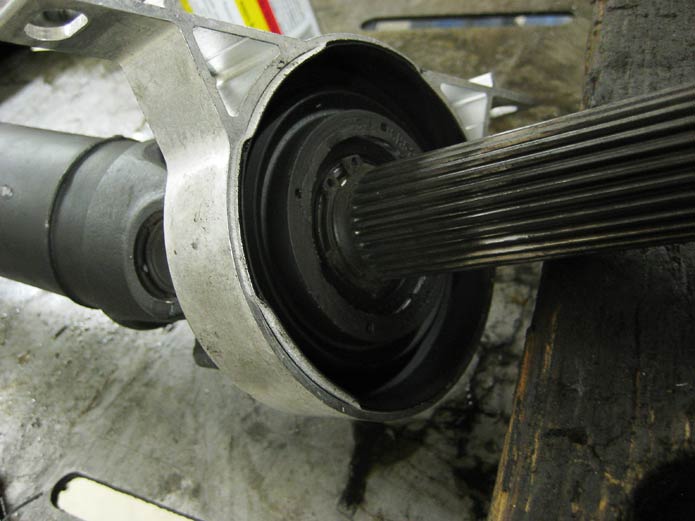
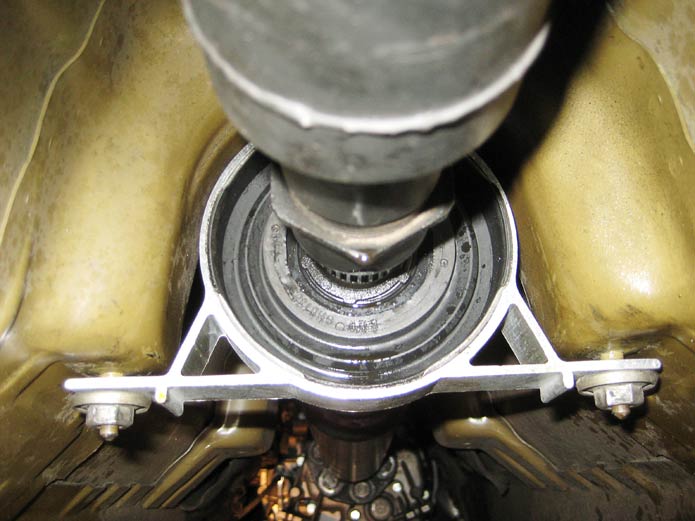
Trans back in, driveshaft bolted up.
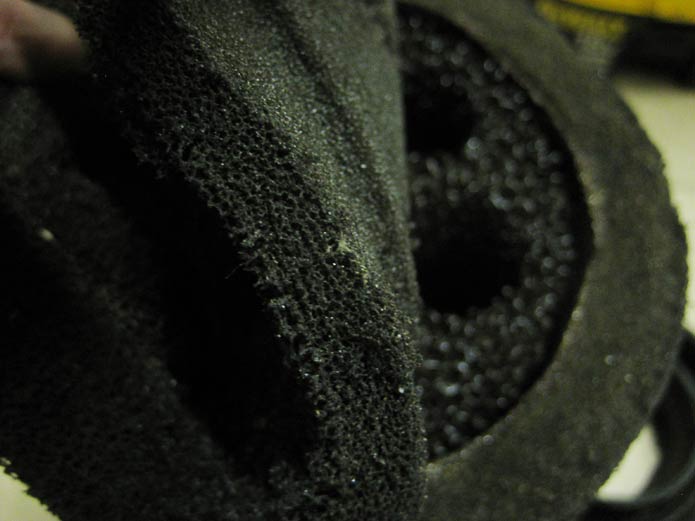
The old ITG filter. I do mean OLD.
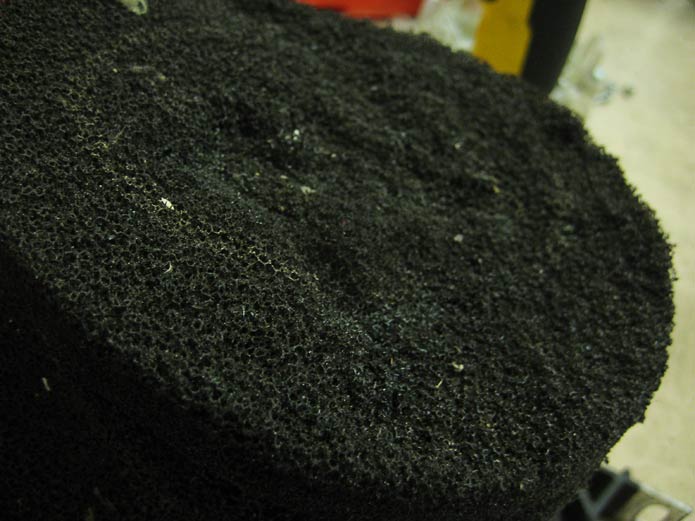
See? This thing is literally falling apart.
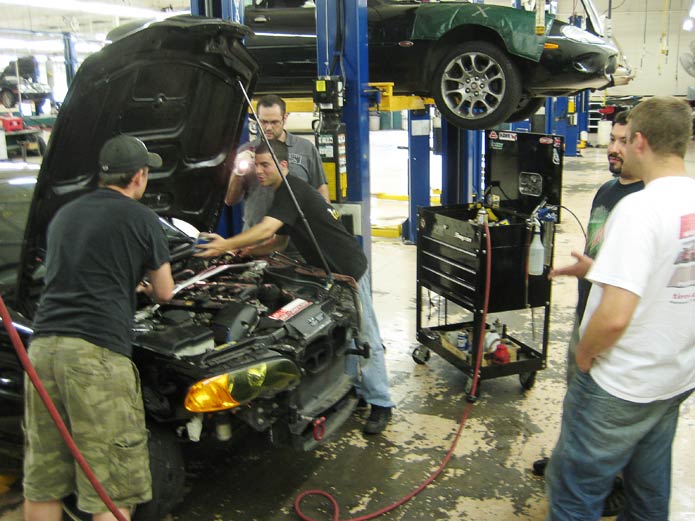
Prep team from left to right: Erin Sanford, Matt Foerst, Chris Stein, Michael Sarol, Byron Hill.
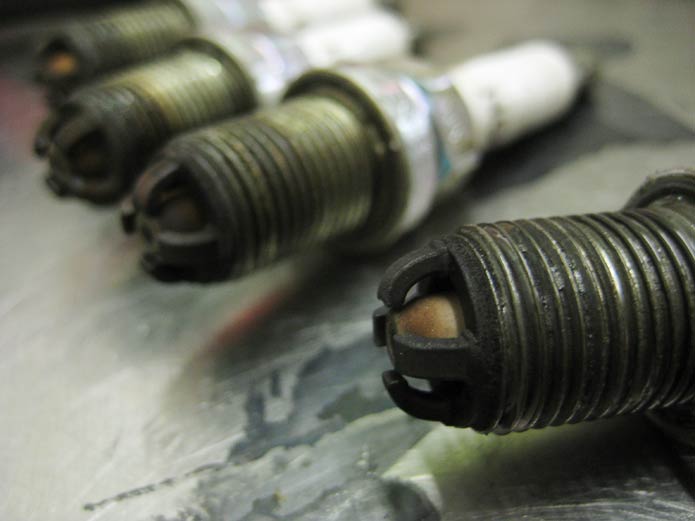
New sparklers…
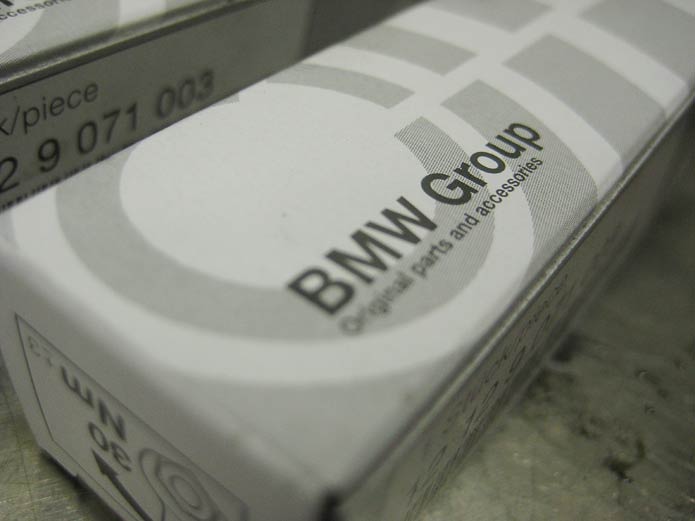
To replace the old ones.
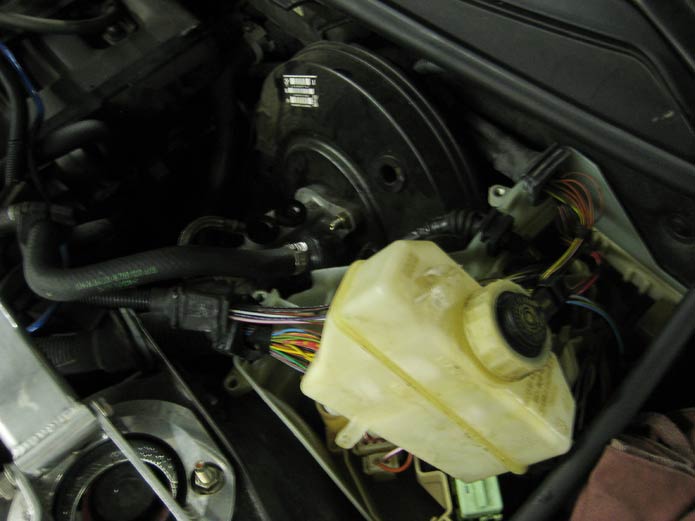
Trying to troubleshoot the hydro e-brake install… and narrow down the best plan of attack.
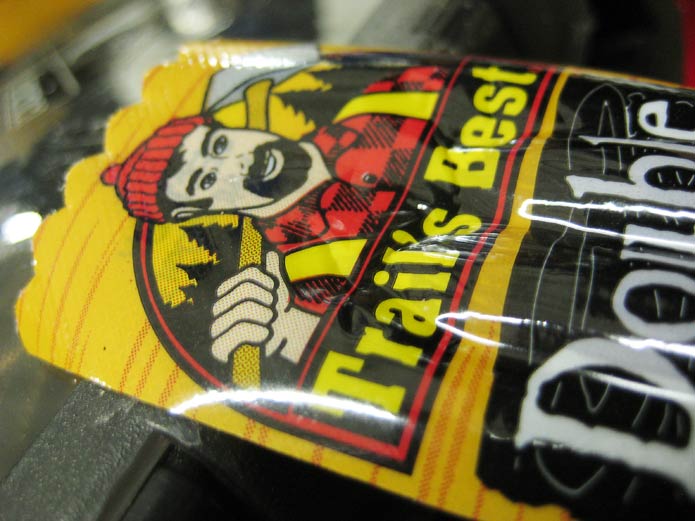
Random, awesome beef jerky man.
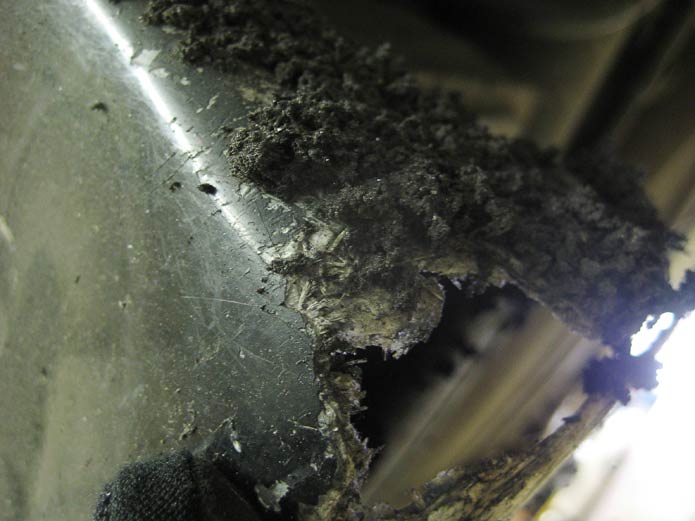
Random snap of my rear lip. Destroyed and eaten away by years of molten rubber bombardment.
Aspec tips c/o Foerst Motorwerks!!! These things are SICK!
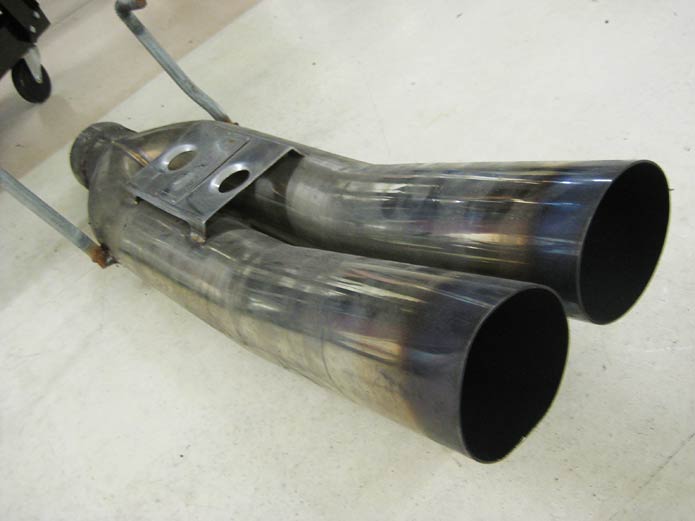
Fitting…
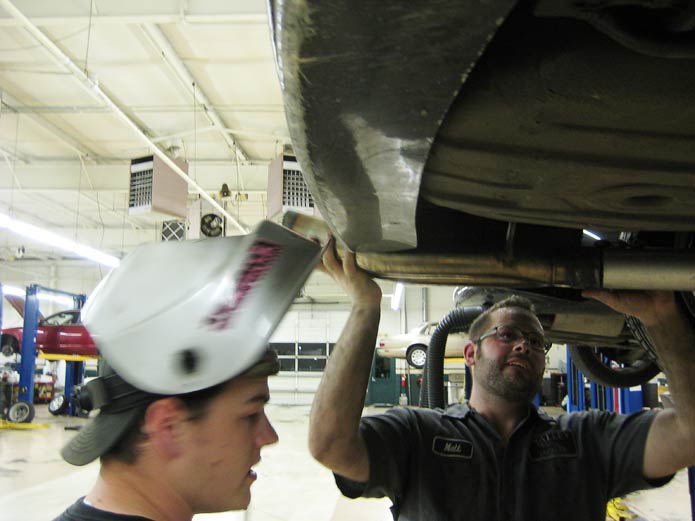
Sanford behind the stick.
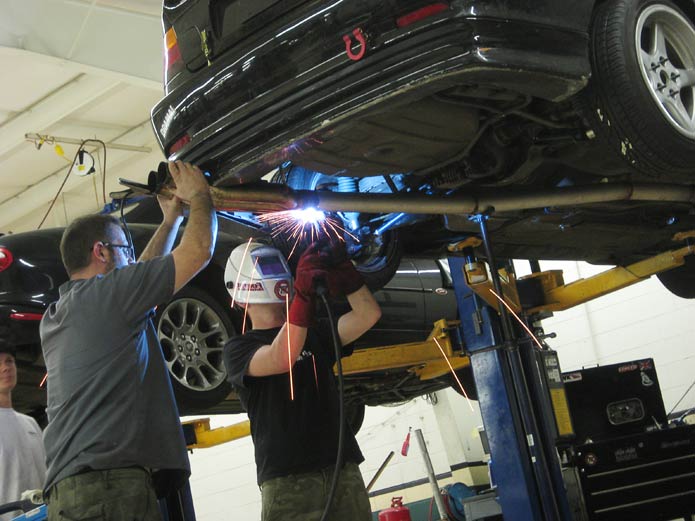
Brantley finishing the welding.
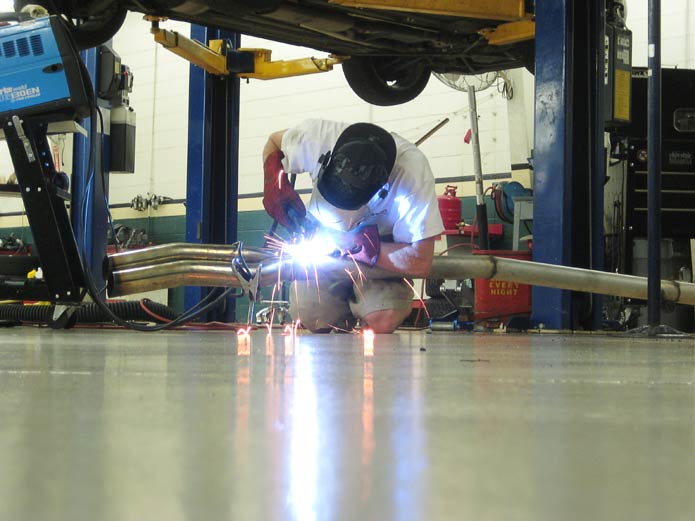
The end of the night.
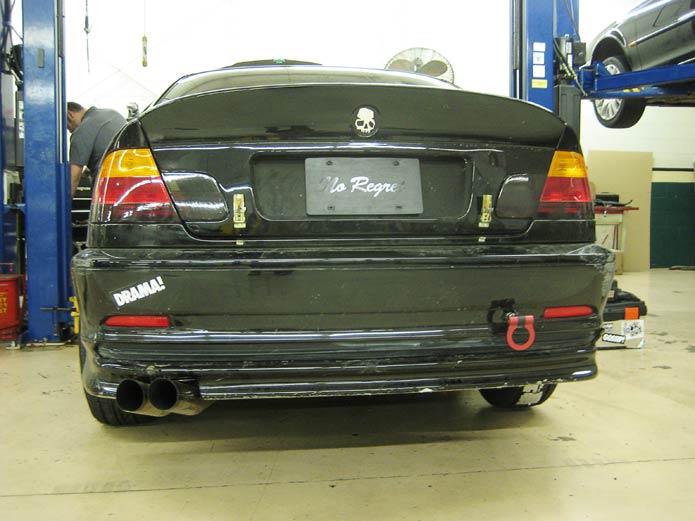
Tomorrow we need to weld hangers up for the exhaust. I’m making an early run to Summit Racing in McDonough for some Earl’s fittings that should help us run the hydro e-brake in-line before the ABS module.
HUUUUUUGE huge thanks to Matt Foerst and Erin Sanford. They put hella wrench time on the car… and were a gigantic help. I never could have got all this done today without them. Thanks to Michael Sarol for driving me all over town to pick up parts. I love you guys. SERIOUSLY.
You know you drift a BMW when your Bentley service manual is held together with zipties.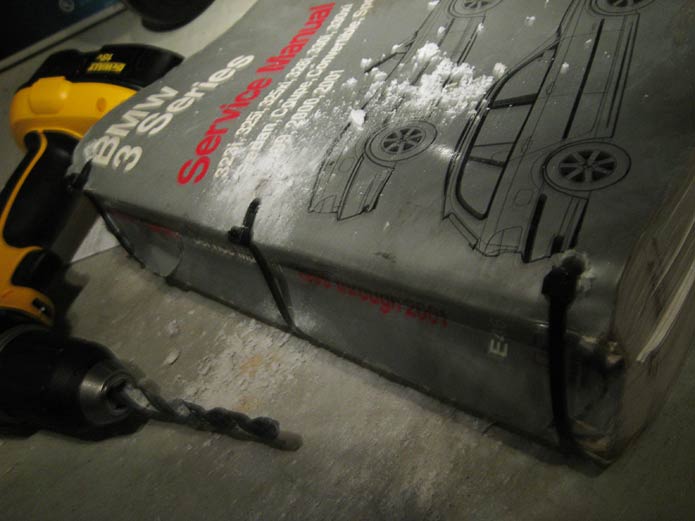
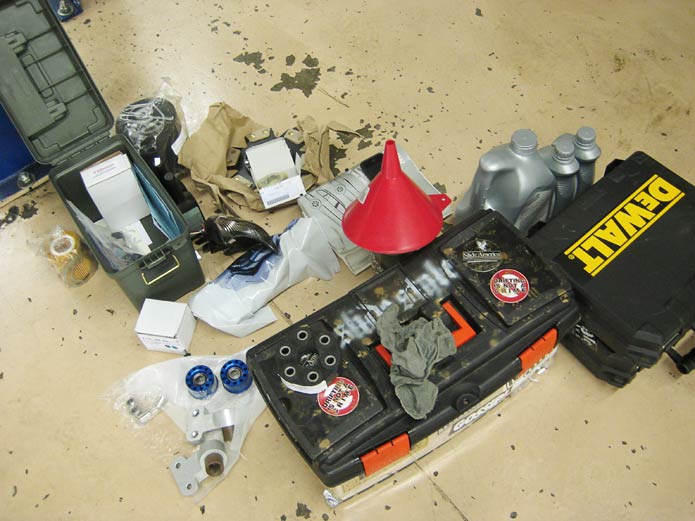
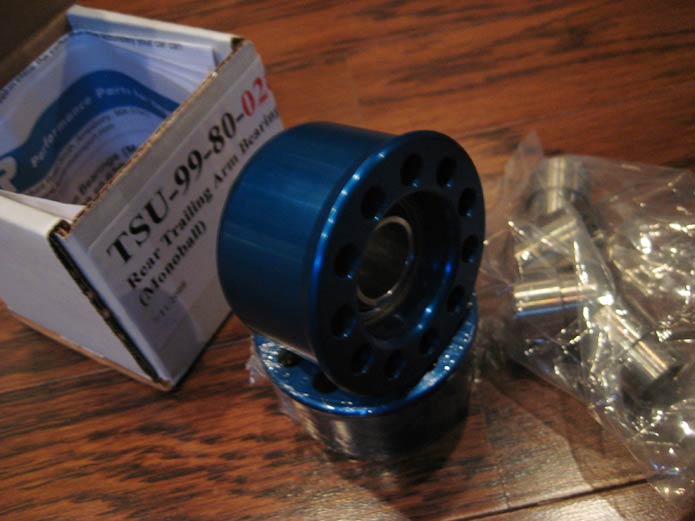
My box from Turner was on my doorstep this evening. I have a TON of Turner parts on my car. They really make some of the best parts on the market. Nearly every suspension component on my car is from Turner.Turner Motorsport Spherical Rear Trailing Arm Bushings. I’ve wanted these for at least 3 years. They are so gorgeous that I almost don’t want to install them. These should replace the last of the rubber bushings in the car.
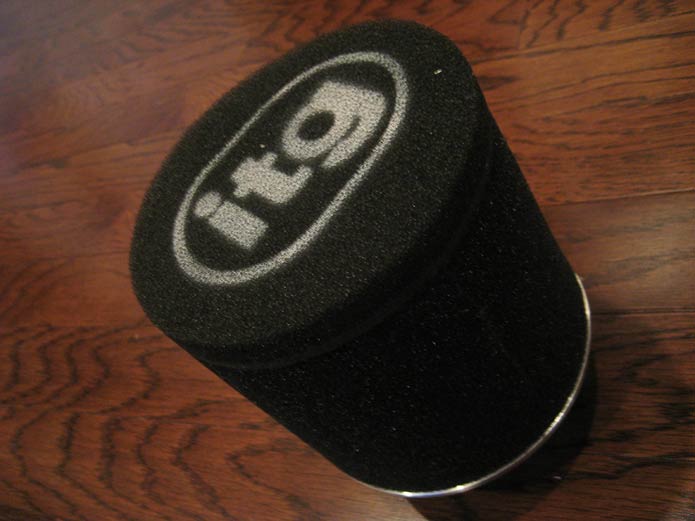
New ITG filter for my Conforti CAI. My old one is decrepit and borderline rotted away.
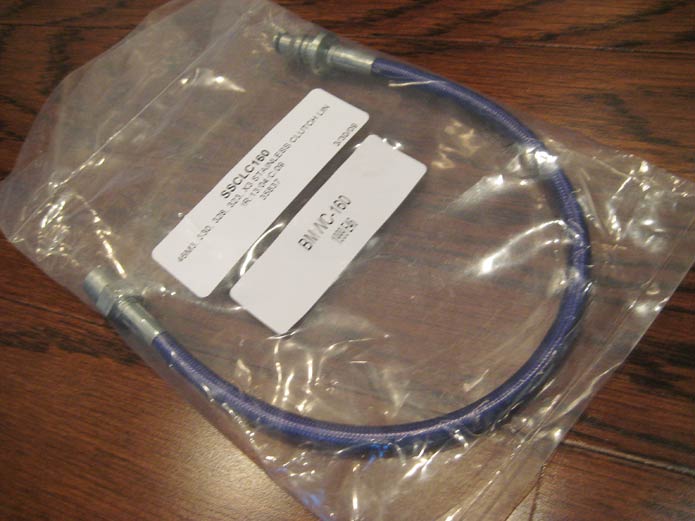
Stainless steel clutch line.
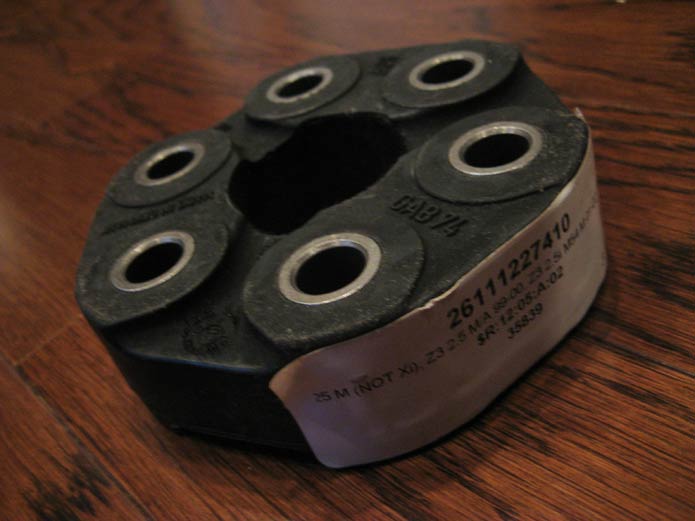
New flex disc (or GUIBO). I swear this will be the 9th or 10th one of these that will go in this car. I destroy these things with zero mercy.
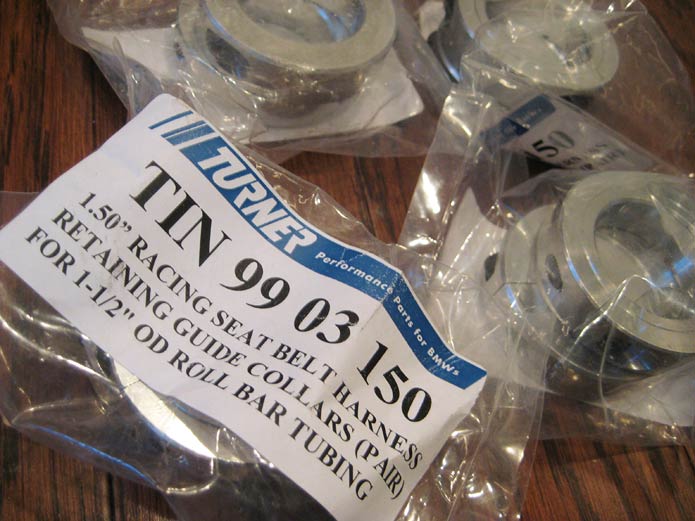
Turner Motorsport Harness Collars. These weren’t ‘necessary’… but they were totally mandatory.